74 days. 10.5 weeks. The wedding is quickly approaching! My wedding to-do list is definitely shortening, and now the bulk of the items left on it must be completed when I am home in June or immediately before the wedding.
The invitations will be mailed out on Saturday from Bridal Veil, Oregon! Look for them coming soon to a mailbox near you. :)
Tonight I worked on a framed wedding agenda and menu board. The agenda describes the order and timeline of events for the evening. The menu board spells out the food and dessert choices.
The frames measure about 2.5' tall. Here they are pictured leaning against my cupboards.
I bought the frames for these projects at Goodwill and painted them each silver. I used the large format printers at Kinkos to print the agenda and menu I had created. If you have never used large format printing, you should try it. It is very cheap (printing each of these cost less than $4). They warn you before printing the quality may not be very good, but the quality of print is just fine in my opinion. I then adhered the prints to foam board from the dollar store using scotch tape. I probably spent around $15 for the entire project.
While printing the menu and agenda at FedEx Kinkos this past weekend, I also printed out a large black and white congratulations poster and engagement picture, each measuring 3 feet by 4 feet. These will be used to cover up some wooden white board cupboards in our reception venue. The engagement picture turned out so nice that I may blow up some more engagement or wedding photos to decorate our home after the wedding!
Lee visited Salem this weekend, and we were able to complete a few wedding projects.
For our ceremony, we made decisions on songs and readings. The parents, grandparents, and bridal party will be walking down the aisle Air on the G String by Bach.
I will be walking down the aisle to this version of the wedding march:
This song will be our special music during the lighting of the unity candles:
And we will be walking up the aisle as a married couple to this song!
My brother will be doing our readings. Here are the readings from the Bible we have chosen:
Jeremiah 29:11-13
For I know the plans I have for you,” declares the LORD,
“plans to
prosper you and not to harm you, plans to give you hope and a future.
Then you will call on me and come and pray to me, and I will listen to you.
You will seek me and find me when you seek me with all your heart."
1 Corinthians 13:1-8
If I speak in the tongues of men or of angels,
but do not have love, I am only a resounding gong or a clanging cymbal.
If I have the gift of prophecy and can fathom all mysteries and all
knowledge, and if I have a faith that can move mountains,
but do not
have love, I am nothing.
If I give all I possess to the poor and give over my body to hardship that I may boast,
but do not have love, I gain nothing.
Love is patient, love is kind.
It does not envy, it does not boast, it is not proud.
It does not dishonor others, it is not self-seeking, it is not easily angered, it keeps no record of wrongs.
Love does not delight in evil but rejoices with the truth.
It always protects, always trusts, always hopes, always perseveres.
Love never fails.
A couple of other fun things. I got Lee's pocket square in the mail this weekend. They did not have pocket square in our color at Mens Wearhouse, so I had to order online. I ended up getting a good deal; the pocket square, with shipping, was under $10!
Lee will wear this in his tuxedo's pocket
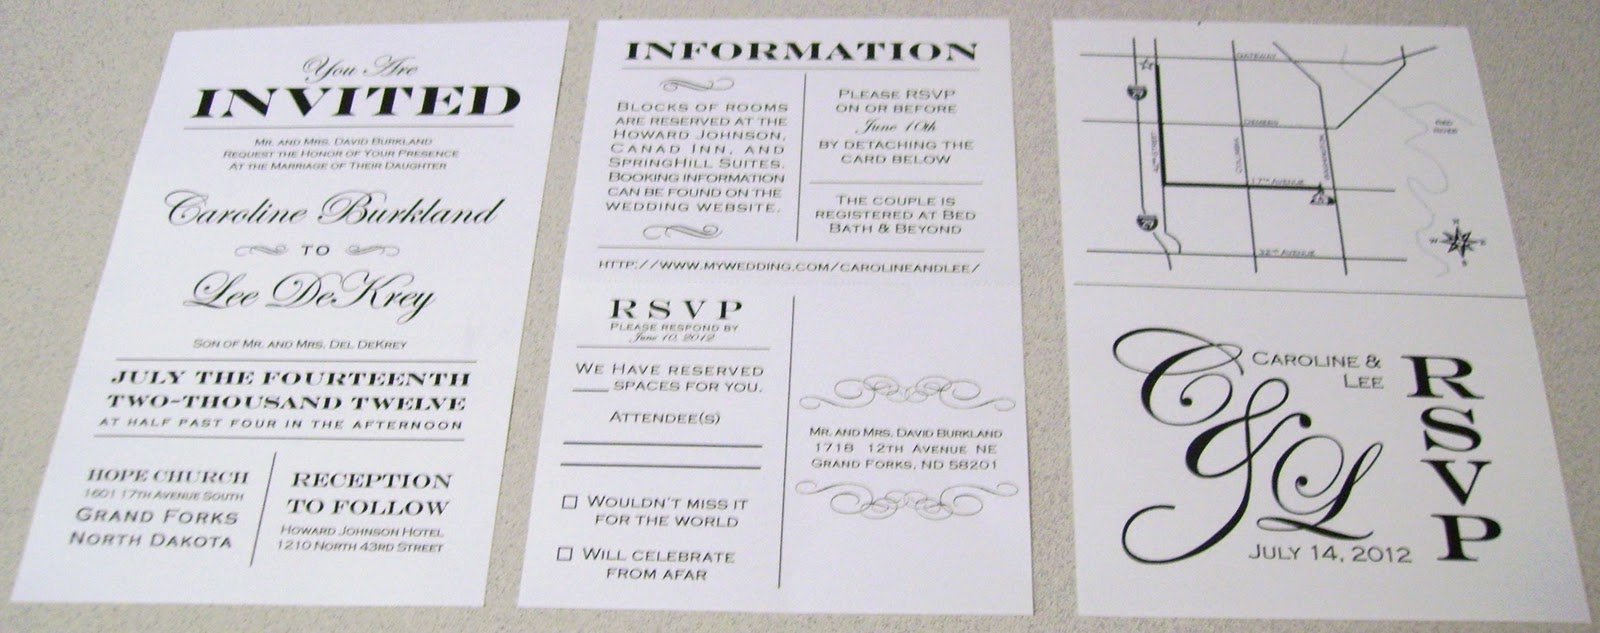
I also was able to work on the wedding invitation suite, since I am designing my own. This picture is kind of blurry, but you can get the general idea. There will be two pages sent with our invite. The first will be the invitation and the second will be the information and a detachable RSVP postcard. The third page you see is the back side of the information/RSVP postcard. To RSVP, guests will detach the pre-stamped bottom portion of the second page on a perforated line.
We are going to print the invites on white or cream shimmer paper. I would like to either tie something around the 2 pages or put a belly band around them to keep them together. The tie or band could be turquoise to introduce our color scheme.
Here is one last wedding project we started but did not finish this weekend: escort cards. We are going to be making wax seals to put on each escort card. Lee's mom does calligraphy, and we are going to have her write them out for us. Here is our inspiration and our tester card:
Inspiration
This seal has wedding bells, but we also bought a wax stamp with hearts
We didn't use real wax to make our version. We used hot glue, a wax stamp, and silver spray paint to achieve the same effect. We found the cards at the dollar store in packs of 50 for 25 cents a piece. The back of a card will have a printed off sticker designating which tables the person can sit at. We will not be having individual seating place cards, but these will serve as a guideline so family can sit closer to the head table.
Lots of to-do list items were conquered this weekend! I love crossing things off my list.
Lee and I decided we wanted to have escort cards to direct everyone to their tables. At the Dollar Tree (my favorite wedding retailer...haha), Lee and I found 50-packs of escort cards for 25 cents each. We plan to dress them up a bit, but that will be a later post.
Right now, I want you to contemplate the pictures below and tell me which escort cards display is your favorite. Recall that we have to display around 300 of them. They will be alphabetized, of course, because we want people to easily and quickly find their name.
My project for the past couple of days has been working on a DIY birdcage fascinator, complete with a flower, sparkles, and feathers! Wikipedia describes fascinators as "a delicate, frivolous head decoration," and that's exactly what my turned out to be. My fascinator may be delicate and frivolous, but it's definitely fun!
I will be wearing a regular veil for the wedding ceremony, but I tried on birdcage veils when I was dress shopping and I really liked them as well. Since I like both so much, I decided I will wear a traditional veil during the ceremony and a birdcage veil/fascinator during the reception and dance. Of course I hadn't budgeted for two veils, so I decided to make my birdcage veil and spend my budgeted money on a real veil.
Without further ado, here is the finished product:
Here's how I did it:
1) I bought a birdcage veil at Michaels using my weekly 40% off coupon for $8.99. The veil came with a comb attached and rhinestones sprinkled across the netting.
2) I purchased one set of white flowers at the dollar tree for (the price on this one is a big surprise) $1. I took apart the white flowers completely and used only the petals of the flowers.
3) I took a necklace Lee had given me for Christmas a few years ago and I cut off the pendant for the center of the flower. I don't regret doing this because the necklace was made of nickle and was turning orange on some parts of it. Maybe I'm sentimental, but this is my favorite part of the fascinator.
4) I stacked the flower petals from largest to smallest and glued them together using a hot glue gun. I sewed on the rhinestone necklace pendant on the front of the flower, and on the back of the flower, I glued on a few feathers I happened to have sitting around. I then sewed the entire flower to the comb of the birdcage veil.
5) Using the stick-on rhinestones I had purchased at Walmart earlier this week, I added a few rhinestones around the pendant and added a few more gems to the veil as well. You can never have too much sparkle!
My grand total for the birdcage fascinator was $10. I am calling it a birdcage fascinator rather than a birdcage veil because I don't want to wear the veil over my eyes during the reception and dance. I don't want to feel like I have something in my eyes all night!
If you know me well, you know I cannot resist a deal. I am not afraid to admit I love freebies, coupons, and the dollar store. Today Lee and I decided to visit the Dollar Tree to check out if they had anything to use for our wedding. And of course they did!
Lee and I first checked out the wedding "section." (Did you know: not only the Dollar Tree has a section dedicated to weddings, Walmart has one too!). Our first find was 300-count bags of fake white rose petals. We figured we could use these either in the church aisle or to scatter on tabletops.
We also picked out some white wire garland with little plastic hearts sticking out of it. We think we could use it for tying back tulle, edging tables/doors, or wrapping around things. Not very specific uses, but we are sure we will use it! The garland pictured below isn't the exact garland we bought, but you get the idea.
We then went on to the candle aisle. I decided I will be making our unity candle, so we scoped out the candle options at the dollar store. They have two tapered candles for a dollar, so I am sure I will be back to purchase two of those. Today we purchased two glass candlestick holders for the taper candles. We will use a pillar candle in the middle. I have yet to brainstorm how I will decorate the pillar candle...
Onward we went to the picture frames. Although we did not buy any picture frames today, I know we will be back to revisit this section of the store to purchase frames for some of the projects I have in mind!
Then, divine inspiration struck. Earlier this week I had seen a fabulous centerpiece on Pinterest. Oh how I love Pinterest! The centerpiece utilized fishbowls stacked upon each other. When Lee and I stumbled upon small fishbowls at the Dollar Tree, I knew I would want to try to recreate this decoration.
All of the fishbowls at the Dollar Tree are the same size, but we decided we liked the look of the identical fishbowls stacked just as well. We debated about what to put in the bowls, and we decided to put a candle in the top bowl. In the bottom bowls, we decided we would put turquoise beads and a single white flower bud nestled on top of the beads (kind of like the picture below, except the flower would be white and the water would be turquoise beads).
We looked through the store for blue beads, and we found a perfect substitute: air freshener gel beads. These gel beads are the perfect color.
In total, we bought enough fishbowls to make one tower of three and two towers of two (7 total). We also bought 4 containers of the gel beads. We'll buy the flowers and the candles later. We think we are going to use this decoration either at the guest book table or on the punch or cake table.
Last, but not least, I bought a package of white doilies. I want to try making a craft like the one below: